The 3 Anchors East
Zone A in the ‘Area Marina Protetta’ (protected Marine Area)Level of difficulty
Medium/ Low for both routes
Medium (when a current is present)
Maximum depth
18 m (green route)
30 m (red route)
40 m
Visibility
Excellent / Good
Recommendation
♥ ♥ ♥ ♥
Highly recommended
Video
Gallery

Map
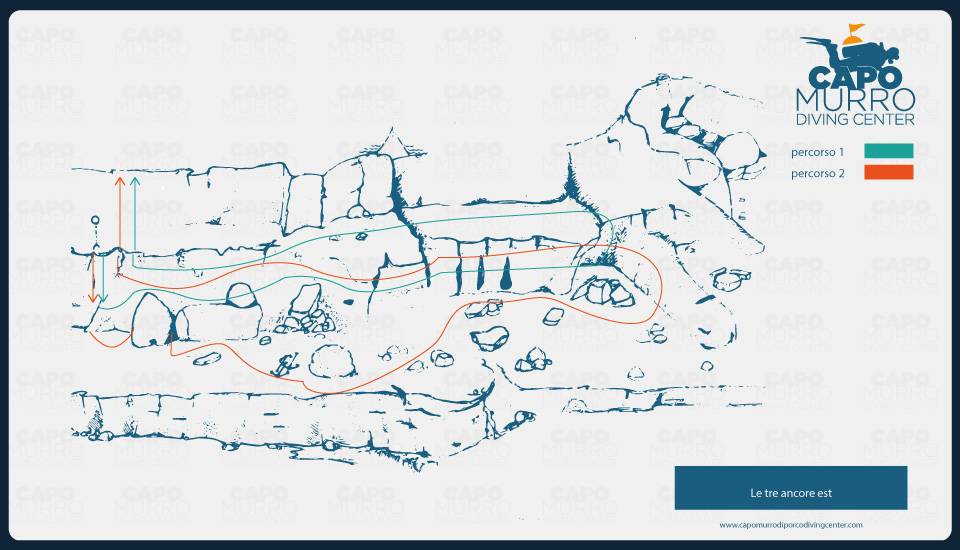
Description
This is a typical wall dive, suitable for all levels of divers and is free of any particular problems or difficulties. The only variant to take into consideration, other than exceeding the maximum depth planned for a dive, could be the presence of a current which could render the dive more arduous.
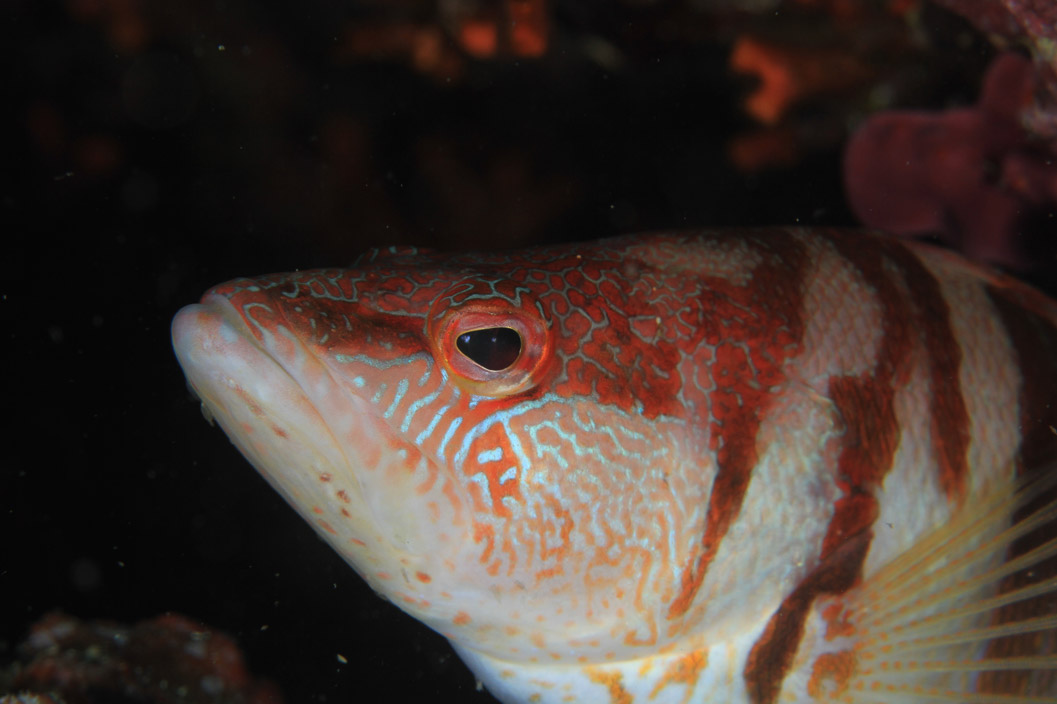
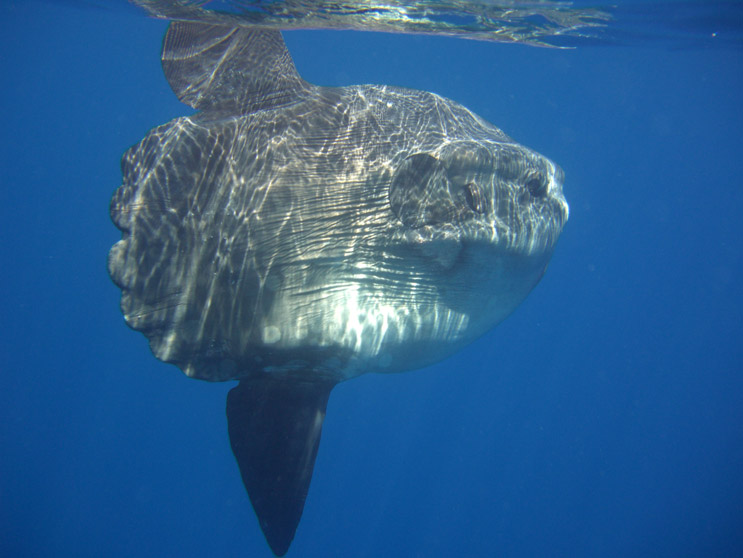
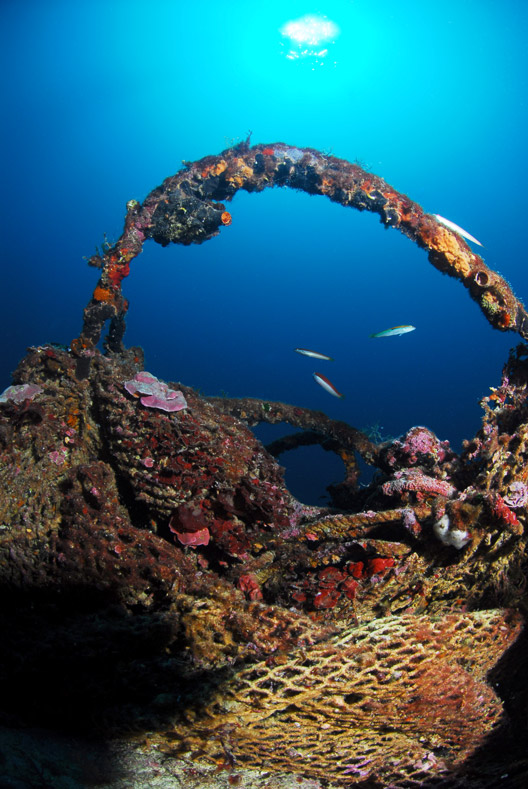
Swimming down from the top of the mooring buoy to a depth of around 12-14m we see the first of two shelves which characterize the morphology of the cliffs which stretch along Zone A in the protected marine area. Following the vertical drop we reach the second strata which reaches down to a maximum depth between 28 and 30m. Immediately on our left, we find a large crack in the wall which often hosts large brown Grouper. A larger passageway leads us to a small cave where it is possible to see numerous Parapandali. Swimming onwards keeping the wall to our left, we reach the three anchors which have given their name to this diving site. These large metalic admirality anchors bundled up on top of each other go back to the times of the Tonnara (tuna fishing plant), which historically had one of its blockades in this point. Swimming nearby the anchors it is not uncommon to see large Moray Eels.
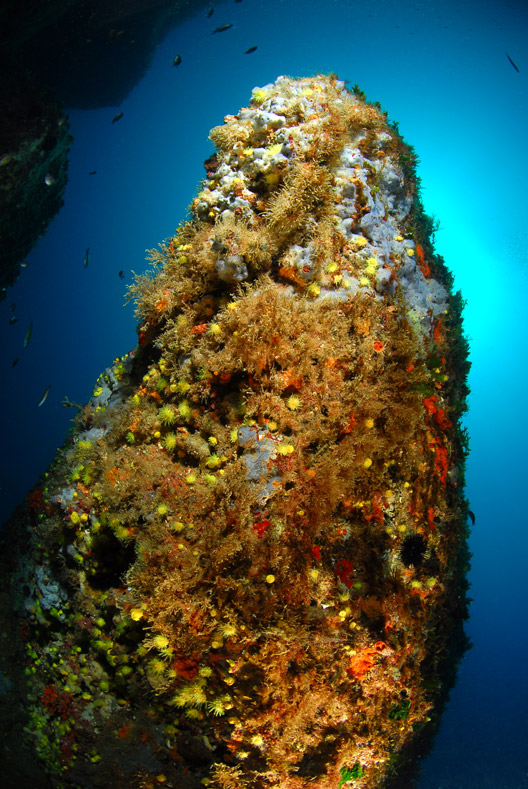
Facing the cliff near the second strata, emmersed in clouds of red Damselfish , it is possible to admire the horizontal drop in the wall which stretched down to the sandy sedbed at a depth of 52m. In the possesion of specific patents it is possible to explore the wall which is characterized by numerous cavities and fissures home to Lobster and Flat Lobster. Even the sessile fauna is thriving with coraline organisms including Bryozoa, Ascidiacea, Madrepores and the Diadema and Matita genus of Sea Urchin and pentagon shaped Starfish. There is also a very suggestive point in the face where the walls create a sort of rocky canopy.
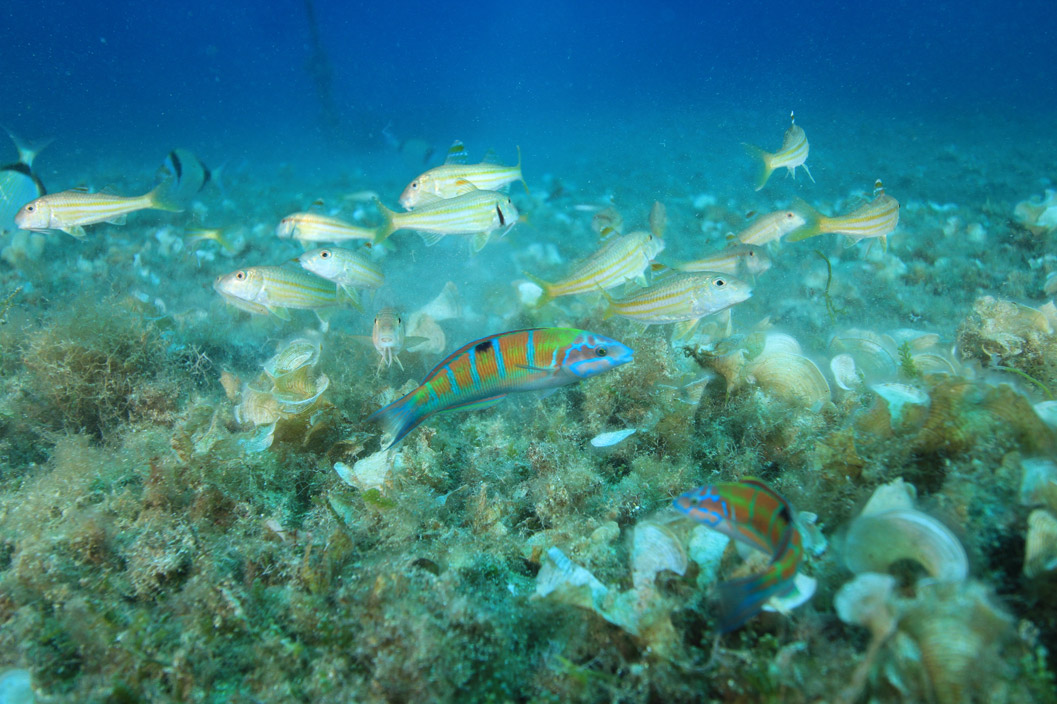
At this point there is the start to a series of rocks, which other than offering refuge to brown Grouper, Stone Bass, Musdea and Crustaceans, are the backdrop to large shoals of Banded Sea Bream and Salema Porgy. Continuing along with the coast becoming increasingly shallower on our left, we reach three large vertical fissures on the wall. The first housing Bream and the third to Parapandali. It is advised to look out occassionally to our right through the blue to see if we can catch a glimpse of palagic fish which might be swimming towards the coast line.
Gradually rising in depth keeping close to the edge of the first strata, we change direction following a tongue like rock in order to peruse the wall in the opposite. Here nestled amongst the algy which covers the seabed, we can observe Parrot fish and Sparidae.
After ten metres or so we will be back at the mooring bouy which signals that we are reaching end of our journey. However before returning to the surface we have our final look at the wall which is colonised by Sea Urchins, Orange Madripores, Octopus, Date Mussels and a wide variety of Nudibranchs.
The 3 Anchors West
Zone A in the ‘Area Marina Protetta’ (protected marine area)Difficulty
Medium/ Low for both
Medio (when a current is present)
Maximum depth
18 m (green route)
30 m (red route)
Visibility
Excellent/ Good
Reccomendation
♥ ♥ ♥ ♥ Highly recommended
Map

Description
This is a typical wall dive, suitable for all levels of divers and is free of any particular problems or difficulties. The only variant to take into consideration, other than exceeding the maximum depth planned for a dive, could be the presence of a current which could make the dive less simple
Diving down from the top of the mooring buoy, we reach first shelf at a depth of 12-14 m. Continuing our descent, keeping the cliff face on our right, after a few metres we reach a long tongue formed by large rocks strewn one above the other which rise up from 20m but stretch to a maximum of 30m. A little further ahead, in a section where the wall of the cliff becomes less veritcal than the eastern side from where set out, we reach two large rocks deposited at a depth between 22 and 30metres. The furthest of these rocks, with respect to the mooring buoy, has a side which overlooks the open sea and is inclined in such as way as to form a sort of rocky canopy. Here it is very common to come across large examples of Brown Grouper.
Having swam past these rocks and reducing our depth a little, we arrive at an open space/clearing dotted with a few large rocks and take in the resident group of Brown Grouper who can always be seen going in and around the clefts in the rocks,
We continue on to a second outcrop penpendicular to the coast line before reversing our direction and following the ridge of the first shelf a 12-15m depth to head back to the buoy. On the seabed below which is covered in varieties of seaweed such as Caulerpa and Peacocks tail, we can spot Parrotfish , Salema and Sargo Bream. Keeping an eye on the movements of the large shoals of Atherina and Boop Boops (Bogue) in the middle of the open water to our right which could help us notice the presence of the occasional open water predator, we return to the buoy and back to the surface.
